Fun Ridge Route in Canmore - Mount Lady MacDonald's West Ridge
- Posted on
- By Kevin McBride
- Posted in Rock Climbing
- 0

Want to be alone on one of the most popular peaks in the area? This route's for you. Here's my trip report with tips on what to bring and what to expect, pitch by pitch.
Mount Lady MacDonald is an obvious objective, to say the least. Its summit looms almost 1300 vertical meters over the town of Canmore. The trail up the peak is one of the most popular around, and its ESE ridge is a classic 5.5 that sees more traffic than many of the other routes in the area. Lady Mac's West Ridge, however, sees almost no ascents, which is a shame considering how fun the route actually is.
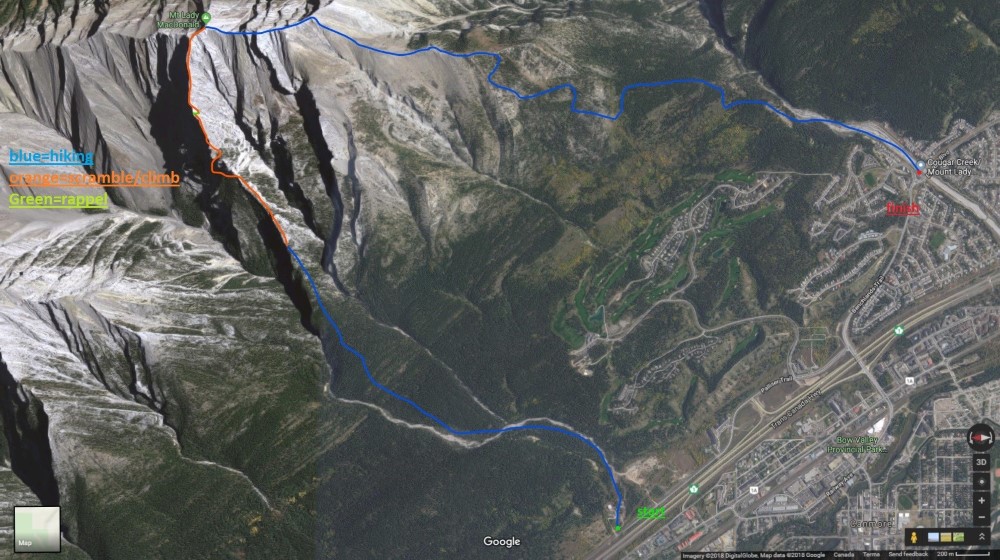
Route
- Location: Mount Lady Macdonald
- Time: 8 hours (Stoneworks Trailhead to Cougar Creek parking lot)
- Style: Alpine Grade II, 5.10a
- Length: 1200m, 2-4 pitches + lots of scrambling
Climbing Gear and Hardware
- Protection- we brought a single set of Black Diamond Camalots from #00 C3 to #3 C4 and Black Diamond stoppers from #5-#10, however, we only placed a #1 and a #3 C4 on the 5.10a pitch, but we climbed most of the ridge solo.
- Quickdraws- we brought 4 DMM Alpha Trad quickdraws and 4 Black Diamond Oz Runner Set extendable quickdraws.
- Rope- Due to the limited info on the route we opted for two Black Diamond 8.5mm half/twin ropes just to be safe, I would recommend a single 60m rope for future parties.
- Footwear- I wore a pair of 5.10 Guide Tennie approach shoes for the vast majority of the route. I also brought a pair of La Sportiva TC Pro's for the technical pitches; the TC Pro's crack climbing ability was much appreciated on the crux pitch.
- Helmet- I wore my Black Diamond Vapor, it's lightweight and astonishing breathability makes it the only helmet I seem to use these days.
- Personal kit- I brought the DMM Pivot with two locking carabiners, a 180cm sling, cordelette, a few extra slings, and a Sterling Hollow block
- Backpack- I like the Mammut Trion Light due to its clean feature set, great support, and minimal weight.
- Clothing- I wore the Mammut Courmayeur softshell pant and the La Sportiva Action Long sleeve shirt, I also packed a light down jacket and an emergency rain shell.
- Extras- I packed a headlamp, a small first aid kit, some bars, water, and a 12" Hungryman Sandwich (Highly Recommended).
Mount Lady MacDonald West Ridge Trip Report
We parked the car just past Cross Zee ranch (please don’t park directly in front of the ranch) and looked up at the ridge. The entire ridge is visible from the road, so it makes a great spot to do some last-minute studying of the route. We started up the rocky drainage, after a few hundred meters we got on the Stoneworks Canyon Trail, which is marked by a sign on the left side of the drainage. This well-maintained trail meanders through forest parallel to the drainage, this was especially enjoyable in the cool shady morning with the smell of spring in the air. After about a kilometer the drainage turns to the left. We scrambled across the drainage and started to hike straight uphill through the forest heading northeast. There is no trail in this section so some knowledge of off-trail navigation is useful, however, the forest is quite open and low angle. The key to this section is to keep close to the height of the forest between the two drainages. Eventually, the forest thins and the ridge starts to narrow, soon after the scrambling starts, we chose to put our helmets on here. Soon after, we reached the first steeper section of the ridge.
Pitch 1 (4th class)
This is the first section of proper scrambling on the route, some parties may want to use a rope for this section. Follow the line of least resistance, staying close to the ridge crest, until you reach the top of a small peak on the ridge. Multiple options for anchors.
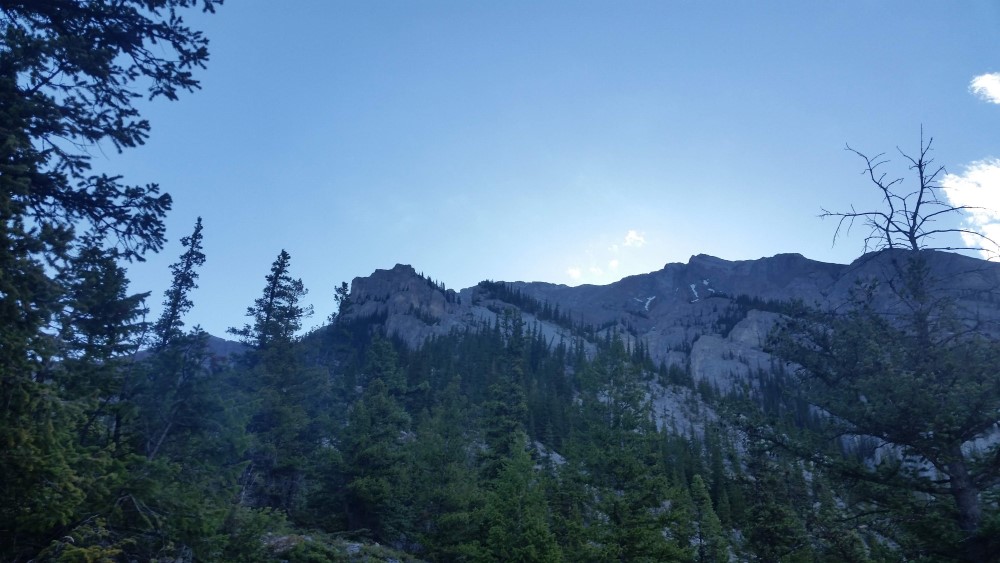
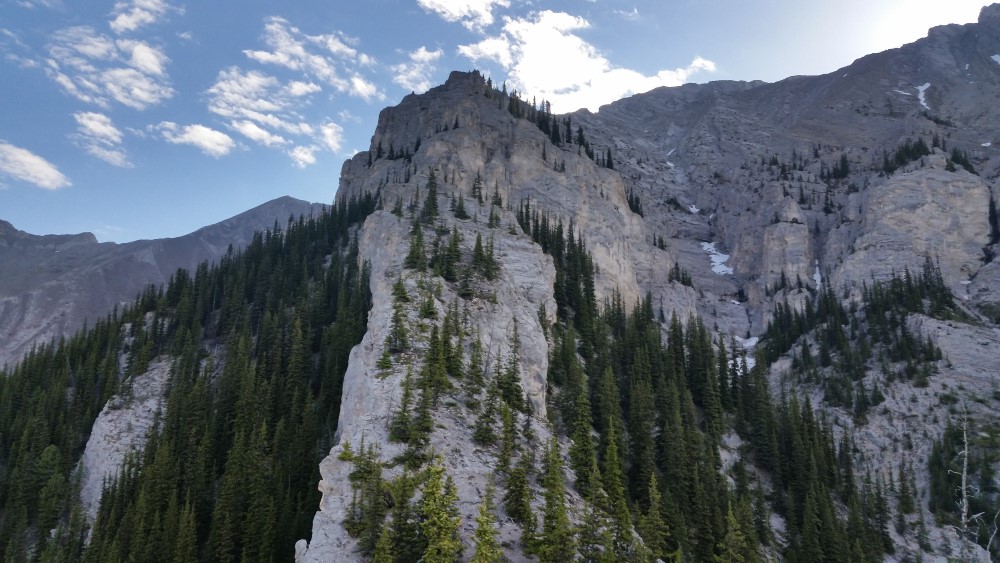
After the first pitch, we descended to a small notch in the ridge and continued to scramble up. We stayed close to the ridge crest, keeping our eyes peeled for a rappel anchor mentioned in the FA's route description. Before we found an anchor, we spotted a short gully leading down the left side of the ridge. This gully turned out to be a 3rd class down scramble that eliminated the need for a rappel. After scrambling to the scree below, we followed it uphill to a bowl beneath the ridge. A large wall forms the top of this bowl. When we reached the wall, we turned left and followed the wall until we found a scree ramp that allowed us to gain a ledge back on the ridge. We followed this ledge back right until we reached the base of a deep corner.
Pitch 2 (5.6)
This deep corner starts with a couple body lengths of steep interesting climbing (crux), after the steep bit the angle backs off and you can scramble to a large ledge. We climbed this pitch without ropes, but it takes gear great for those who would like to pitch it out. This pitch is quite enjoyable and well protected.
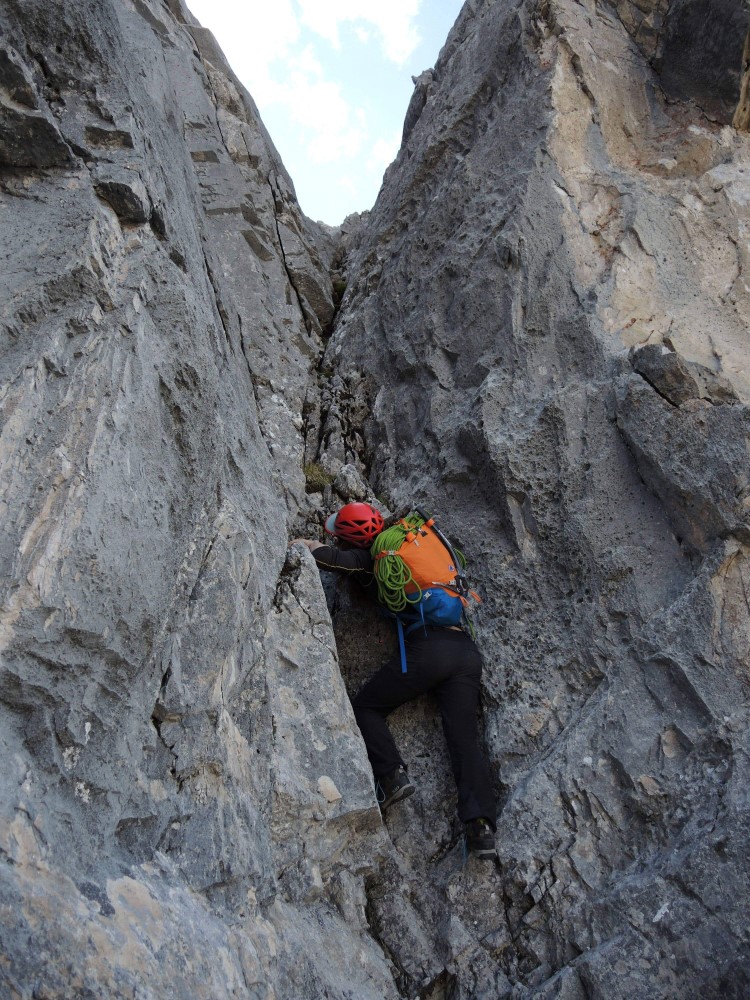
A short scramble up the right side of the ridge brings you to a short wall of shattered rock.
Pitch 3 (5.2)
We climbed up this short section without a rope, watch for loose rock. This pitch can also be avoided by scrambling around on the right side.
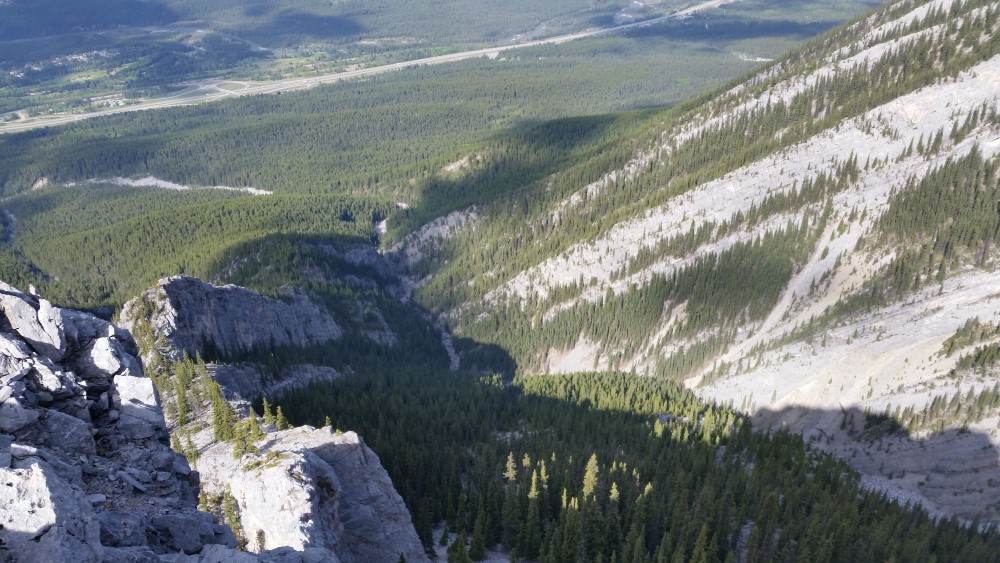
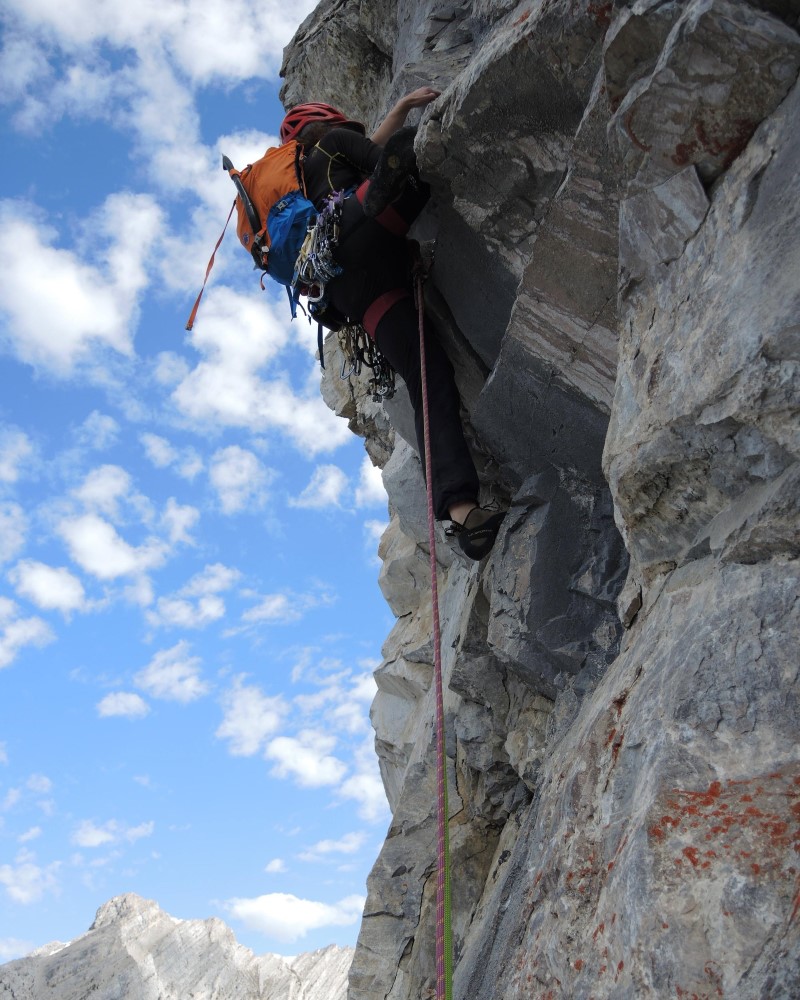
At this point, we were staring the crux pitch right in the face. The 5.10a pitch is the last obstacle before the glory scrambling at the top.
Pitch 4 (5.10a)
For this pitch, we brought out the ropes. I jammed my way up the flawless hand crack through the small bulge (crux), after the bulge, the crack widens to fist/offwidth. At this point, I chicken winged my way up the crack until the angle backed off. From here, it is a couple meters of easy climbing before the ledge. At the ledge, I found a tree to sling for an anchor. On this pitch, I placed a #1 camalot and a #3 camalot, but more gear could be placed.
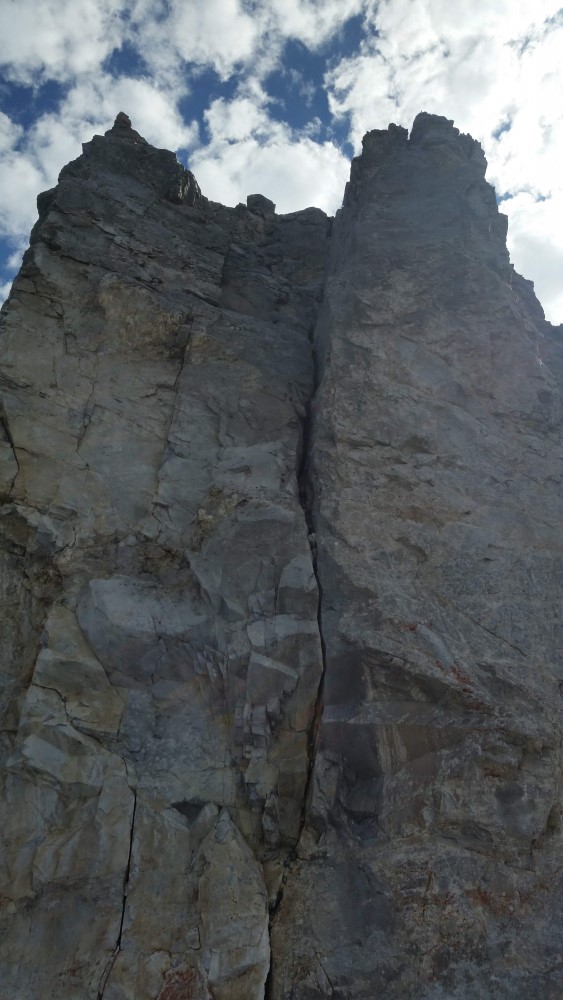
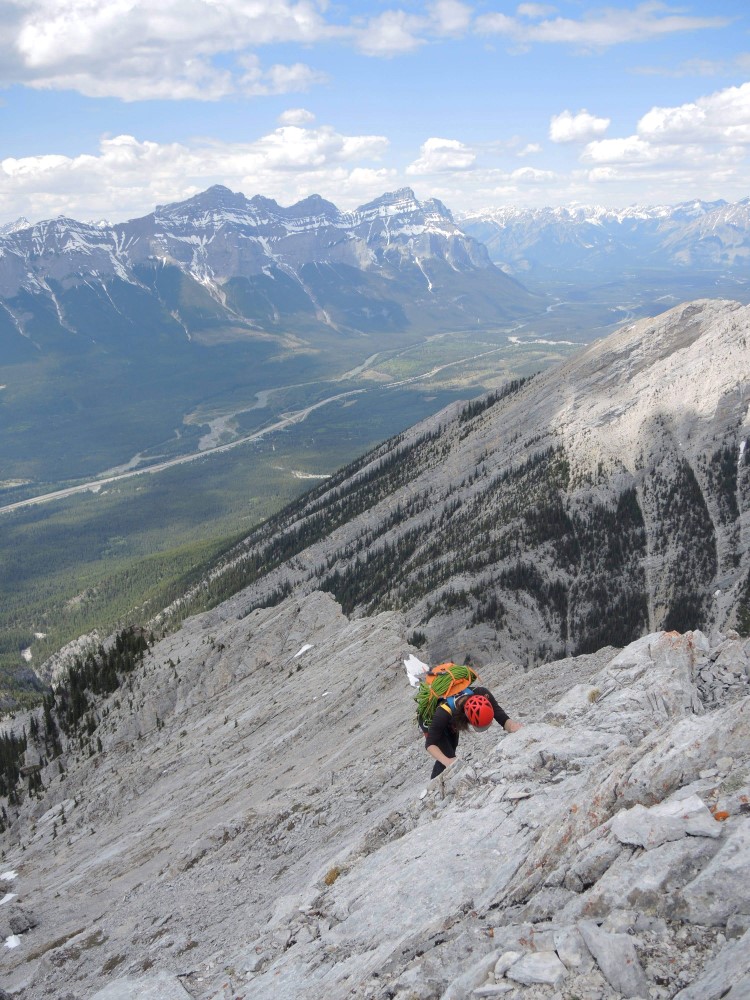
From the top of the last pitch, we put the rope away and started scrambling up the beautifully exposed ridge. The route finding is straightforward, just stick close to the ridge crest. After a few hundred meters, we reached the rappel station. The station is a two-bolt anchor, 30 m before a sharp drop in the ridge, if you see a rusty piton, you’ve gone too far! We did the rappel on one 60m rope with lots of rope to spare. At the base of the rappel, we pulled the rope and gunned it back up to the ridge. From here, it is some of the best scramblings I've done. With clean rock, great exposure, and amazing views, this last few hundred meters are a great way to finish the climb. For the final bit, you will top out onto the north ridge and you simply scramble to the summit of Lady Mac.
Descent
After eating my 12" Hungryman sandwich, we started down. Luckily the descent is straightforward as you are following one of the most popular hiking trails in the Bow Valley. Simply follow the Lady Mac trail down to the Cougar Canyon parking area.
This route was a great day out! I would highly recommend it to any solid 5.10 trad leader who wants a different experience than regular multi-pitch climbing, or folks who have done the ESE Ridge and want something a little more challenging. With great climbing, excellent views, and just the right amount of route finding, this route is a fun way to spend a day in the mountains.
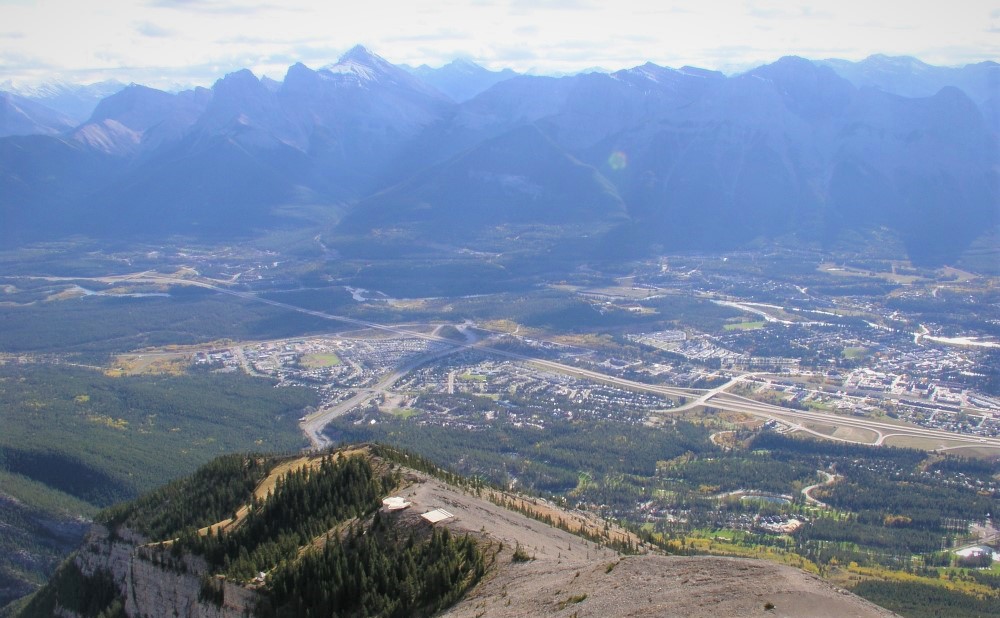
View of Canmore on the way down, towards the proper hiking trail
Bonus tips!
- Make sure to arrange transportation from the Cougar Canyon parking lot at the end of the day, it is a long walk back to where you started.
- Bring lots of water, there are no water sources once you leave your car.
- I would only bring one 60m rope if I were to go back.
- This route requires you to build your own anchors, be sure you know how to build safe anchors before venturing onto this ridge.
|
Climbing is dangerous and posses inherent risk. It is your responsibility to seek proper instruction from qualified professionals to learn the necessary skills to participate in any of the activities described herein. The information found here is for entertainment and general information purposes only and does not constitute advice, nor is it intended to be educational in any way. |


Comments
Be the first to comment...